As professional advertisers and marketers, we always recommend and prefer professional photography. The results are far superior for use on small business websites and print marketing pieces. That being said, we also understand that many small business owners are choosing to take the do-it-yourself direction these days.
For those determined to take “professional looking” photos, put your smartphone away. Even if you have never touched a camera, we’ve got some tips that will help you take in-focus and non-distracting photos.
1. Use a real, actual camera.
Sure, smartphone cameras have greatly improved over the years. But they still don’t offer the manual features or zoom options that are standard on many cameras today. Smartphones are designed to do many things like surfing the web, beating the next level of Candy Crush and making phone calls. (Though does anyone actually call people anymore? That’s a post for another time.) A real camera has one purpose – to take photos. It isn’t bogged down by performing other functions and therefore can focus (pun intended) on doing its job. Use your smartphone to take selfies and pictures of your new puppy, not for taking serious business photos.
2. Check your light source.
Light is your friend, but indirect light is better because it is softer and creates dramatically fewer harsh shadows than direct light. If shooting outside, choose a cloudy day to get the best shots. The best times of day to shoot are in the early morning and late afternoon when the light is softest. If shooting inside, the same rule still applies – try to use as much natural light as possible and even turn off a few lights. This sounds counter intuitive, but the camera has a way of making artificial light look noticeably fake while your eyes can see the same thing naturally in a normal color tone.
3. Evaluate your surroundings.

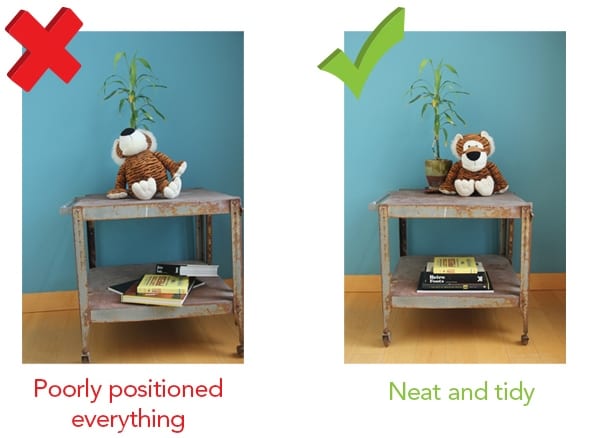
Is the tailgate of your truck hanging out in your picture? Does that lampshade appear to be on your boss’s head? Take notice of the things around you and either move them out of the way, move your subject or adjust your camera perspective. After you take a shot, don’t just see if your subject looks good. Look at everything else in the frame and retake photos accordingly.
4. Get close to your subject.

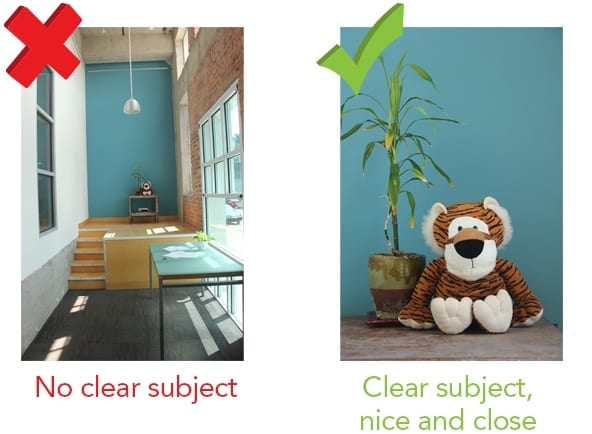
Don’t rely on the zoom. Move closer to get better quality images and help eliminate any unwanted, distracting objects or people that aren’t the focus of your picture. Additional high-powered lenses are great if you have them, but often times they aren’t worth the investment for jut a few photo shoots.
5. Keep steady.
A tripod is your friend. If you don’t have one, rest your hands or elbows on a solid, level surface. You could even try leaning against a wall or something sturdy. If none of those things are available, be sure to keep your hands (yes hands, always use two hands) as steady as possible.
6. Take lots of shots.
Try the same shot from different angles. If your subject is a person, have him position his body differently by shifting his weight or turning his body or head. You may have one particular angle or shot in mind, but you never know which one will be the best. An unexpected shot just may be the best one. A large number of varied photos will increase the odds of having a well framed, clear and in-focus shot.
Professional photographers have many more tricks up their sleeves. But these will definitely help you to take better quality photos for graphic design use. If you want to leave it to the professionals, give us a call. We have lots of experience achieving lampshade-free photos.
